
Download all data from a desired source
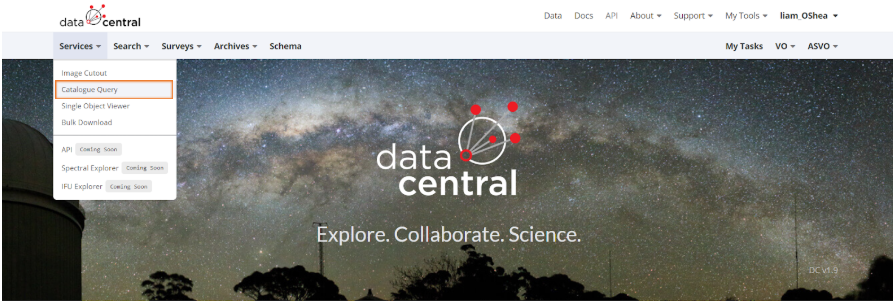
First we need to head to the Catalogue Query page located under the services dropdown tab at the top left of the main Data Central page.
You will then come to this page

From here you can enter a title for the data pull, and also some notes on what is being attempted.
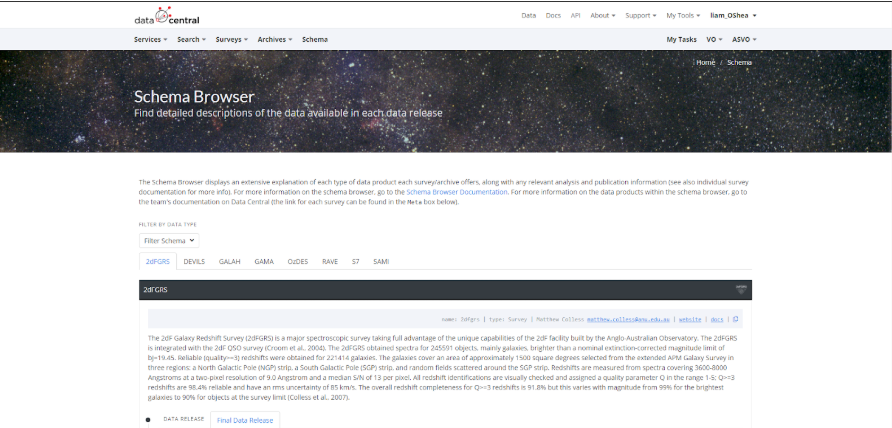
In the third text box you write the SQL code for this data pull. To find information about the surveys collected data, you can look in the schema. Which can be found on the front page.

You’ll then be brought to a page that looks like this.
The code for this example will come from SAMI data, where we restrict the data based on the location it is in the sky. As seen below:
SELECT *
FROM sami_dr2.Gas1compApertures
WHERE DEC > 0.28
AND RA > 218
Once you have finalised all of your code, you enter your email into the email text box so that you will be notified when it finishes, afterwards you can submit the query through the submit button.

You will be redirected to a page with a URL link to the data. Follow this link and you will be brought to a page with all the data you requested in a table format.

From this data table, you find a CATAID which has the parameters you like and head over to the bulk download page from Data Central’s main page. In this Case we will use the CATAID 619104.
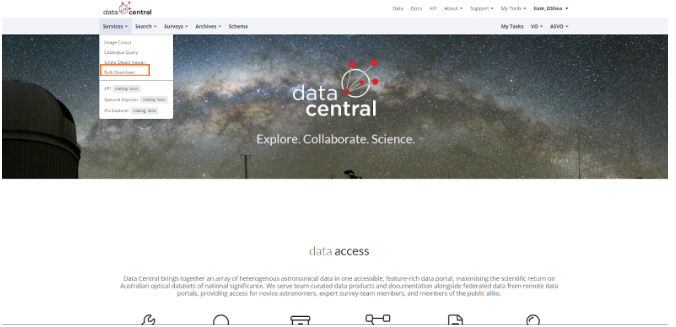
This will bring you to a page that looks like this.
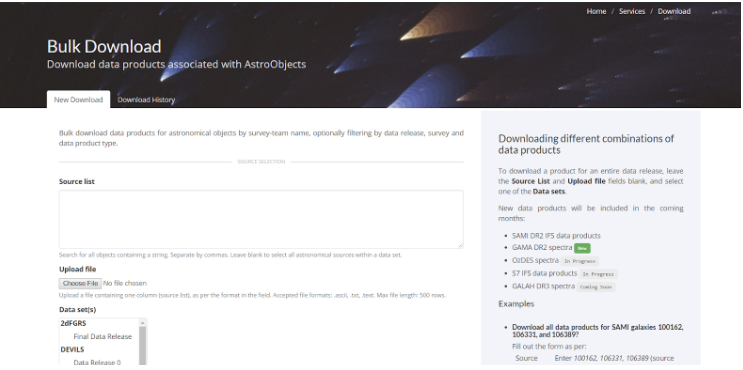
Here we can put in the CATAID of the source into the source list select the GAMA data release 2 from the data sets. Leave loose matching unchecked as we want an exact match.
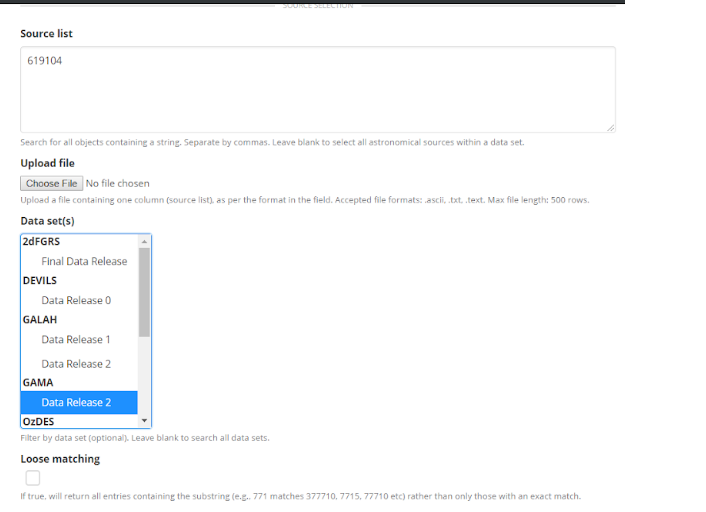
Then we leave the Data products: IFS as we only need spectra, so we select all of the data products: Spectra for gamma, enter an email and submit.

You will be redirected to a page which will have a task url and a notification on whether or not it is in progress.

Once the download ready, you can follow the link and you will be brought to a page will all of the data you can download.

Click on the download link and open to downloads tab in the file explorer and begin extracting the files to a desired location.

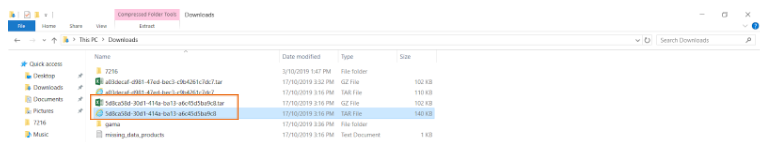
You may need to extract it multiple times to reach the actual files.
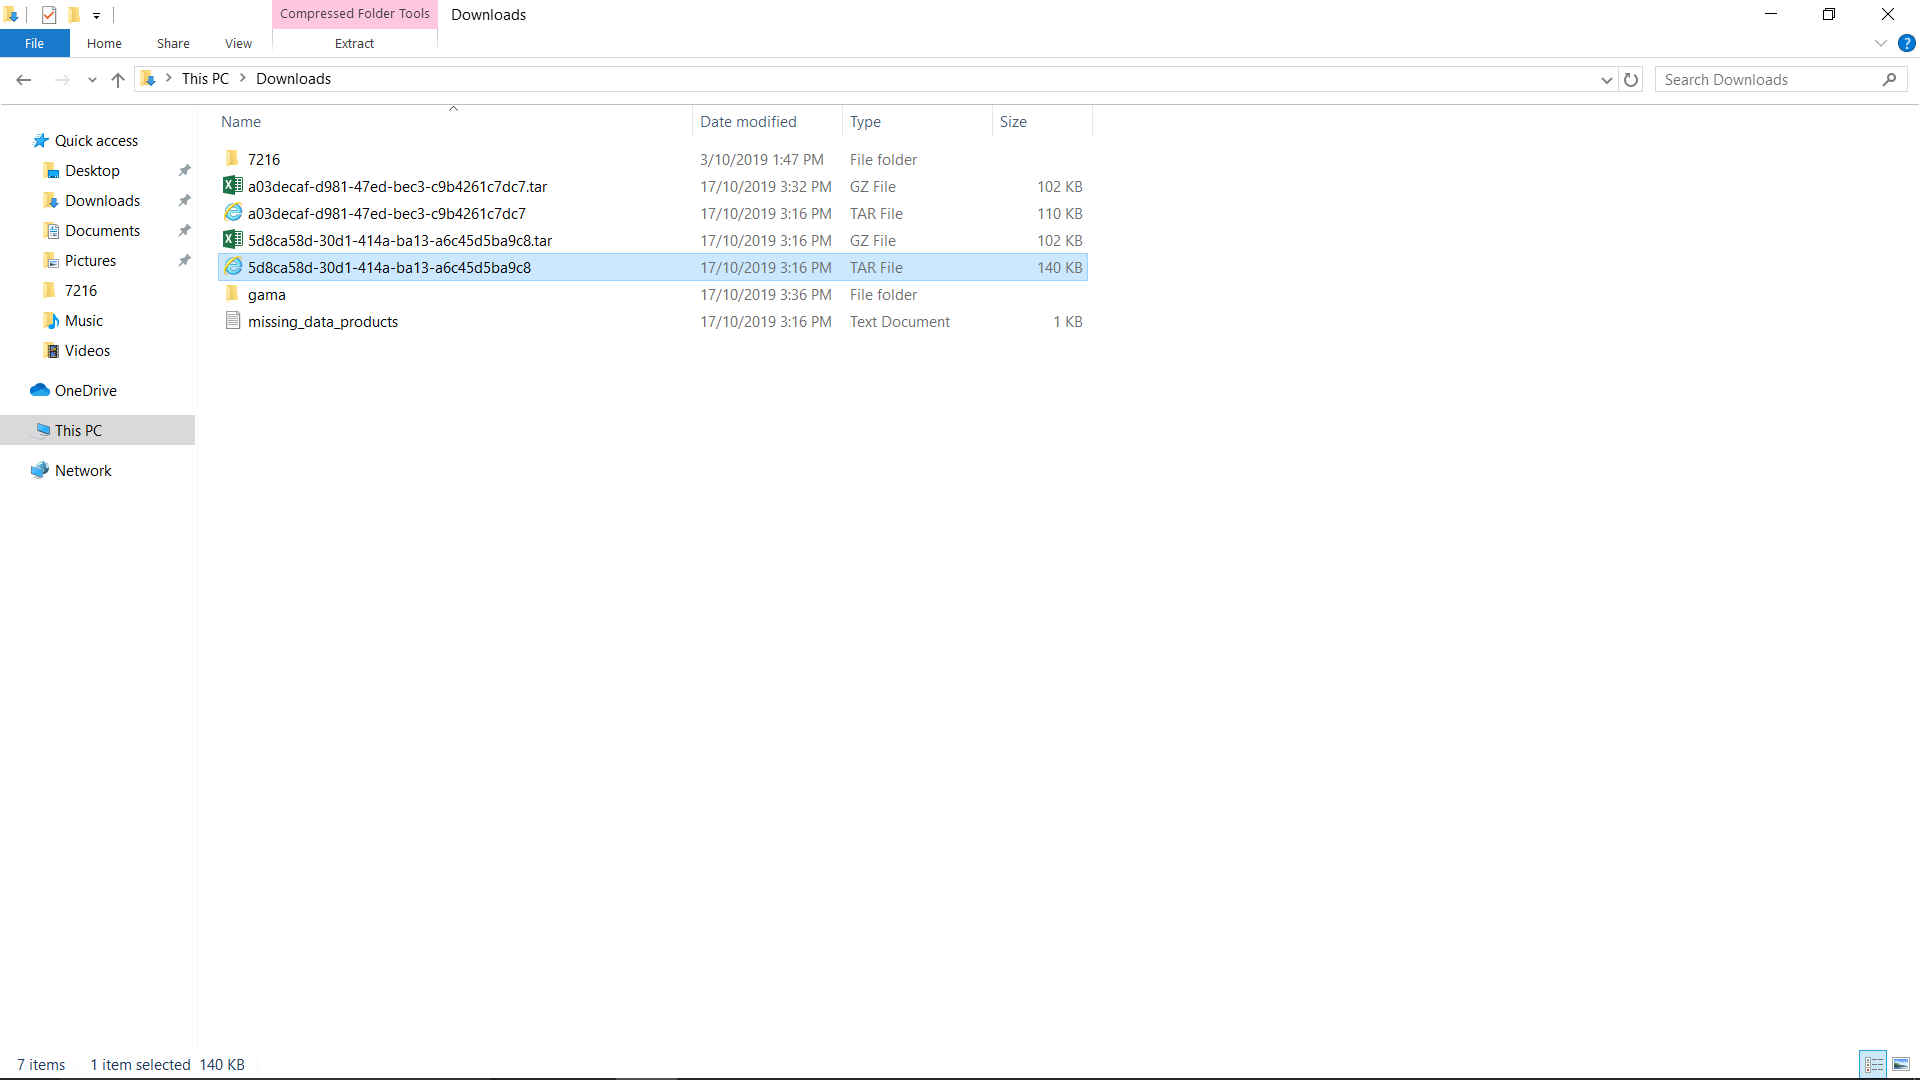
Once this is done you can search for the files that you wish to use, and open it in your own desired program, DS9 was used to check the data, but there are many other imaging programs that can also do the job.